Fisheye Data Analysis
Overview
The fisheye.py script exemplifies how compute intensive applications can be performed onboard CG2 by leveraging both fisheye telemetry and GPU availability. The main.py script exemplifies how this application example can be executed on CG2's EM using the EM API. The source code for this example can be found under examples/fisheye/, with all the necessary support files for running the example.
This example is designed to fetch fisheye images from the onboard telemetry API, perform GPU-accelerated analysis using CUDA, and generate detailed insights including deep features, color statistics, edge detection, texture, and histogram analysis.
Key Features
- Uplink support files and source code: Dockerfile, model weights and main script
- Docker image build
- Pod execution: run the DPhi Pod on the GPU specifically to leverage the intensive compute capabilities.
- Downlink the insights
Prerequisites
- Python 3.X
requestlibrary (pip install requests)- EM Access credentials (username and password)
Running the Fisheye Data Analysis
1.Uplinking support files and script
To correctly run the application on CG2's EM, first we need to uplink all the necessary files to build the Docker image onboard, plus the Dockerfile itself. Given that it is an air-gapped environment, we cannot count on Pytorch to download the weights of the model we'll be using. Therefore, we will also uplink the weights:
    uplink(
        [
            "Dockerfile",
            "fisheye.py",
            "resnet18-f37072fd.pth",
        ]
    )
2. Building the Dockerfile
Now that we have all the necessary files onboard, we are ready to build the Docker image onboard. As we did not define were the files should be uplinked, and which volume to uplink it to, the files will be uplinked to the root of the default volume. This is important to take into account given that we need to know where the files are for the Docker build:
image_build("Dockerfile", "fisheye-analysis", ".")
3. Schedule the DPhi Pods execution
Now that we have everything ready, we can schedule the DPhi Pod to run on the GPU, for a max duration of 2 minutes.
    run("fisheye-analysis", "GPU", 2)
    time.sleep(X)
    pod_status()
Given that Pytorch images are heavy, around 15 GB, it can sometimes take a few minutes for CG2 to pull the image from our internal registry onboard. So it can happen that the pod is not immediately scheduled when requested.
4. Downlink Insights generated by the pod
Once the pod finished execution, we will downlink the following insights:
    downlink("cuda_insights.json")
    downlink("log.txt")
The first one is the actual data we are interested in, which contains insights on the images analysed. The second file is the log file of everything the python script inside the pod printed to both stdout and stderr. To be able to generate such a file, it is important to add the following to the scripts:
# fisheye.py
# Redirect stdout and stderr to log file
log_file = open("/data/log.txt", "w")
sys.stdout = log_file
sys.stderr = log_file
⚠️ Remember that by default, everything that the DPhi Pods print to the console, be it standard output or errors, will not be saved by our system. It is the responsibility of the user to log to the mounted volume
/dataeverything they wish to keep persistent accross runs and downlinkable.
The log.txt shows the following:
============================================================
JETSON NANO CUDA IMAGE ANALYSIS
============================================================
PyTorch Version: 2.7.0
CUDA Available: True
CUDA Device: Orin
CUDA Version: 12.6
cuDNN Version: 90300
GPU Memory: 16.34 GB
============================================================

Using device: cuda

Loading ResNet18 model from local checkpoint...
Fetching 10 recent images...

============================================================
Extracted 4 images - Starting GPU Analysis
============================================================

[1/4] Processing 20251031.png...
  ✓ Size: 3000x3000
  ✓ Brightness: 101.2
  ✓ Edge Density: 10.02
  ✓ Complexity: 3.71
  ✓ Processing Time: 1.519s
  ✓ Throughput: 5.92 Mpx/s

[2/4] Processing 20230608.png...
  ✓ Size: 856x884
  ✓ Brightness: 89.4
  ✓ Edge Density: 29.51
  ✓ Complexity: 1.54
  ✓ Processing Time: 0.135s
  ✓ Throughput: 5.60 Mpx/s

[3/4] Processing 20230606.png...
  ✓ Size: 1093x996
  ✓ Brightness: 24.1
  ✓ Edge Density: 14.86
  ✓ Complexity: 3.15
  ✓ Processing Time: 0.109s
  ✓ Throughput: 10.03 Mpx/s

[4/4] Processing 20230607.png...
  ✓ Size: 1496x1500
  ✓ Brightness: 74.7
  ✓ Edge Density: 13.63
  ✓ Complexity: 4.34
  ✓ Processing Time: 0.250s
  ✓ Throughput: 8.99 Mpx/s

============================================================
PROCESSING COMPLETE!
============================================================
Insights saved to: /data/cuda_insights.json
Total images processed: 4
Total processing time: 2.01s
Average throughput: 7.64 Mpx/s
============================================================
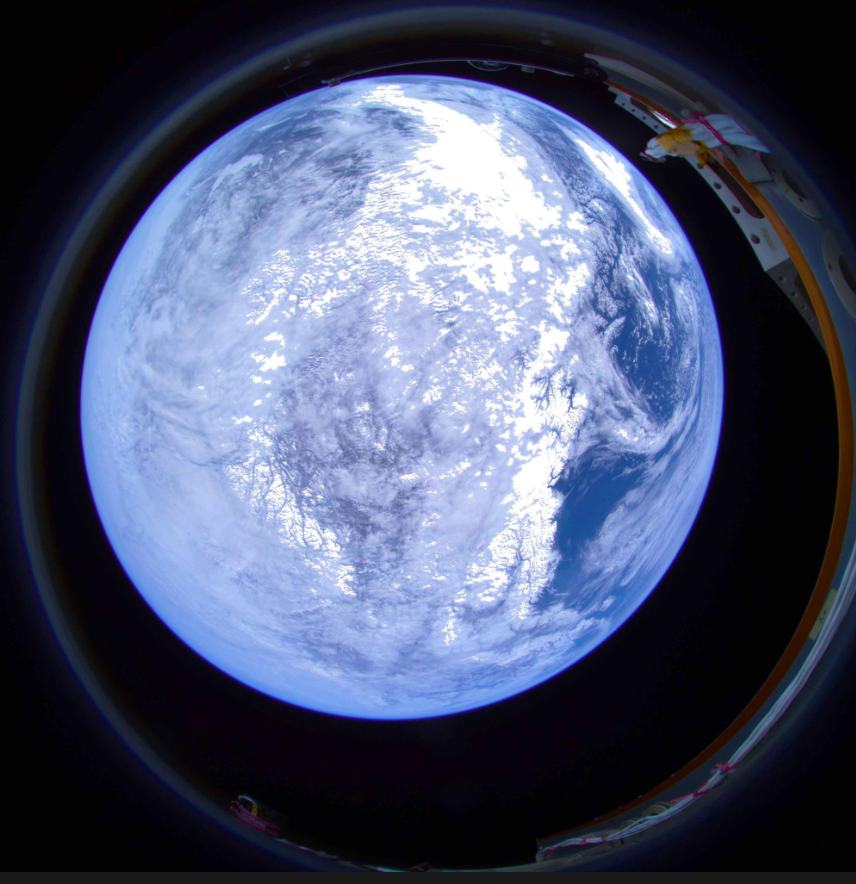
Now we can decide on which image we want to downlink. Lets say we are interested in images that have the Earth in frame. We would therefore consider images with more brightness, such as images 20251031.png and 20230608.png. This insight saves our downlink budget from unnecessary megabytes of useless data. The latter image can be seen below: